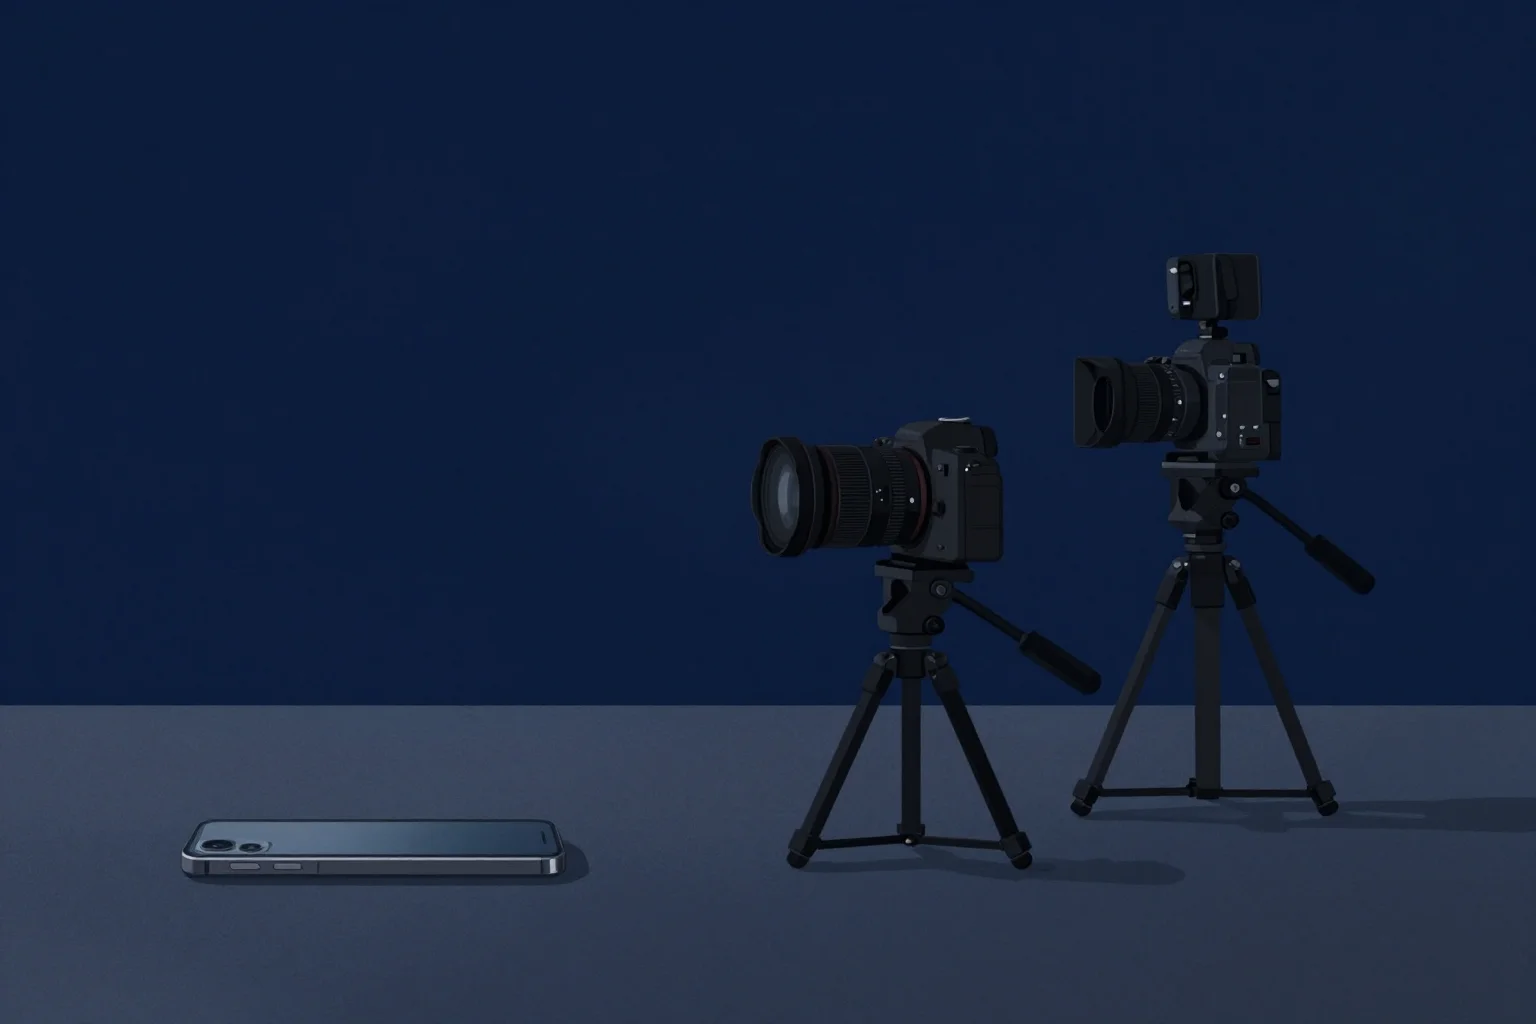
Equipment Foundations: The $0 to $5K Gear Progression Path
Build your creator equipment arsenal strategically. Learn the essential gear progression from smartphone to professional setup, making smart investments that improve content quality without breaking the bank.
Executive Summary
The equipment conversation paralyzes more creators than any other topic. Should you start with your phone or buy a camera? Is expensive gear necessary for professional-looking content? What’s the optimal investment path as your channel grows? This comprehensive guide cuts through the confusion with a systematic approach to equipment acquisition - prioritizing investments that maximize content quality per dollar spent. From the $0 smartphone setup that can launch a successful channel to the $5,000 professional configuration that supports full-time creation, we’ll walk you through each phase of the equipment journey. More importantly, you’ll learn when to invest and when to wait, ensuring every dollar spent accelerates your growth rather than draining resources that would be better allocated to content creation itself.
First Principles: What Equipment Actually Does
Before diving into specific gear, understand what equipment contributes to your success - and what it doesn’t:
Equipment Is a Multiplier, Not a Creator
Great equipment amplifies great content. It doesn’t substitute for it. A compelling creator with a smartphone beats a boring creator with cinema cameras every time. Equipment should remove friction and enhance quality, but never be the reason you’re not creating.
The ROI Hierarchy
Different equipment investments yield different returns:
- Audio: Highest ROI - bad audio kills retention; good audio is invisible
- Lighting: High ROI - separates amateur from professional visually
- Camera: Medium ROI - important but overrated; content matters more
- Editing: Medium ROI - enables quality but requires skill
- Accessories: Variable ROI - depends on content type
The Diminishing Returns Curve
Equipment improvements follow a curve:
- $0 to $500: Massive improvement (smartphone + basic mic + light)
- $500 to $2,000: Significant improvement (mirrorless + audio + lighting kit)
- $2,000 to $5,000: Moderate improvement (prosumer setup)
- $5,000+: Incremental improvements (professional/cinema gear)
Most creators get 80% of the benefit at the $500-1,000 level. Beyond that, you’re optimizing for specific edge cases or production values.
Phase 0: The $0 Smartphone Setup (Starting Point)
The Reality Check: You don’t need to spend money to start. Some of YouTube’s biggest creators launched with smartphones. MrBeast’s early videos were shot on phones. Emma Chamberlain built an empire on phone-shot vlogs.
What You Need:
- Modern smartphone (iPhone 11+ or Android equivalent)
- Free editing app (CapCut, iMovie, InShot)
- Natural light or household lamps
- Quiet recording environment
Optimizing the $0 Setup:
Audio (Your Biggest Priority):
- Use wired earbuds with microphone for close talking
- Record in small, carpeted rooms (reduces echo)
- Turn off AC, fans, and appliances during recording
- Get close to the phone (6-12 inches for talking head)
Video:
- Shoot in 1080p minimum (4K if phone supports it and storage allows)
- Use 24fps or 30fps (not 60fps unless action/sports content)
- Clean your lens before shooting
- Use the rear camera (better quality than front-facing)
Lighting:
- Face a window (natural light is free and beautiful)
- Record during “golden hour” (sunrise/sunset) for warm, flattering light
- Avoid overhead lighting (creates unflattering shadows)
- Use white walls as reflectors to fill shadows
Limitations to Accept:
- Fixed lens limits framing options
- Audio will have room noise and limited range
- Low-light performance will be poor
- Stabilization will be limited
When to Upgrade:
- When you’re publishing consistently (20+ videos)
- When audio quality is clearly holding back retention
- When you have $200-500 budget
Timeframe: 0-3 months (or indefinitely if content type allows)
Phase 1: The $200-500 Entry Setup (Quality Foundation)
The Goal: Solve the two biggest problems: audio and lighting. This is where you separate from obvious smartphone-only creators.
Core Investment:
Audio Solution ($50-150): Options:
- USB microphone: Audio-Technica ATR2500x ($149) or Blue Yeti ($130)
- Shotgun mic: Rode VideoMic GO II ($79) or Deity D4 Duo ($89)
- Wireless lapel: DJI Mic ($329) or Hollyland Lark M1 ($149)
Recommendation: For talking head content, USB mic (ATR2500x) is best value. For movement/vlogging, wireless lapel (DJI Mic) is essential.
Lighting Solution ($50-150): Options:
- Softbox kit: Neewer 2-Pack ($72) or Emart ($59)
- Ring light: 18-inch ring light ($35-60)
- LED panel: Godox LEDP260C ($89)
Recommendation: Softbox kit provides most professional look for static setups. Ring light is fine for beauty/makeup content but creates distinctive (sometimes undesirable) catchlights.
Accessories ($50-100):
- Smartphone tripod/grip: UBeesize tripod ($25) or Joby GorillaPod ($35)
- Phone mount with cold shoe: Ulanzi ST-06S ($19)
- MicroSD card (if using standalone camera later): 128GB ($25)
Total: $150-400
Setup Priorities:
- Audio first (retention killer if bad)
- Lighting second (visual credibility)
- Stability third (tripod eliminates shaky footage)
What This Enables:
- Professional-sounding audio
- Consistent, flattering lighting
- Stable, composed shots
- Separation from obvious amateur content
Production Improvements:
- Viewers can focus on content, not production distractions
- Algorithm signals quality (retention improves)
- Sponsors take you more seriously
- You take yourself more seriously
When to Upgrade:
- When you need shallow depth of field (background blur)
- When smartphone limitations constrain creative options
- When you have $1,000-2,000 budget
- When you’re committed long-term (6+ months of consistent publishing)
Timeframe: 3-12 months
Phase 2: The $1,000-2,000 Enthusiast Setup (Creative Freedom)
The Goal: Add interchangeable lens camera for creative control, improved image quality, and professional credibility. This is the standard setup for serious part-time creators.
Camera Body ($500-1,200):
Mirrorless Options:
- Entry: Sony ZV-E10 ($698) or Canon EOS R50 ($479)
- Mid: Sony A6400 ($748) or Canon EOS R10 ($779)
- Premium: Sony A7III ($1,698) or Canon EOS R6 ($1,799)
Key Features to Prioritize:
- 4K video capability
- Good autofocus (eye detection preferred)
- Flip/articulating screen (for self-recording)
- Clean HDMI output (for live streaming later)
- Log profiles (for color grading flexibility)
Recommendation: Sony ZV-E10 is purpose-built for creators with excellent autofocus and compact size. Canon R50 is great value for beginners. Sony A6400 is the sweet spot for quality/price.
Lens ($200-600):
Single Lens Starter:
- Sigma 18-50mm f/2.8 ($549) - versatile zoom with good low light
- Sony 16-50mm f/3.5-5.6 kit lens (comes with camera, upgrade later)
Prime Lens for Talking Head:
- Sigma 30mm f/1.4 ($289) - beautiful background blur, sharp
- Sony 35mm f/1.8 ($448) - native lens, fast autofocus
Wide Angle for Vlogging:
- Sony 16mm f/1.4 ($448) or 10-18mm f/4 ($848)
Recommendation: Start with kit lens, add Sigma 30mm f/1.4 for talking head content ($289). This combination covers most creator needs under $1,000.
Audio Upgrade ($100-300):
- Keep Phase 1 USB mic for static setups
- Add: Rode VideoMic Pro+ ($299) for on-camera use
- Or: DJI Mic wireless system ($329) if not already purchased
Lighting Upgrade ($100-300):
- Add second light for fill/key separation: Godox SL60W ($135)
- Upgrade to larger softbox: Neewer 32x32-inch ($45)
- Color temperature control: RGB LED panel ($100)
Support and Accessories ($200-400):
- Fluid head tripod: Magnus VT-4000 ($149)
- Desktop tripod: Elgato Master Mount ($100)
- Memory cards: 2x 128GB SDXC ($60)
- Batteries and charger: Spare batteries ($40-80)
Total: $1,100-2,500
What This Enables:
- Professional image quality with background separation
- Creative control over depth of field and framing
- Low-light capability for various shooting conditions
- Multiple lens options for different content types
- Path to upgrade individual components
Production Improvements:
- Shallow depth of field creates cinematic look
- Better dynamic range handles challenging lighting
- Interchangeable lenses enable different creative approaches
- Higher resolution provides cropping flexibility in edit
- Professional signal attracts better opportunities
Camera Settings for Content Creators:
Resolution/Frame Rate:
- 4K 24fps or 30fps for most content
- 1080p 60fps for gaming/action only
- 4K 60fps if storage/computer can handle it
Picture Profile:
- Standard for easy editing
- Cine/Log for color grading (requires editing knowledge)
- Portrait for talking head (softer skin tones)
White Balance:
- Manual/custom for consistency
- Match to your lighting (usually 5600K for artificial, 5500K for daylight)
Focus:
- Autofocus with eye detection (if available)
- Single point AF for predictable framing
- Manual for controlled environments
When to Upgrade:
- When you need higher resolution (4K 60fps, 6K, 8K)
- When low-light performance becomes limiting
- When you need professional features (timecode, XLR audio, etc.)
- When you’re earning significant income ($3,000+/month)
Timeframe: 12-24 months
Phase 3: The $3,000-5,000 Professional Setup (Full-Time Quality)
The Goal: Full professional capability that supports any content type and meets broadcast/industry standards. This is the setup for full-time creators and those producing premium content.
Camera Body ($1,500-3,000):
Full-Frame Mirrorless:
- Sony A7IV ($2,498) - best all-around creator camera
- Canon EOS R6 Mark II ($2,499) - excellent autofocus and color
- Sony A7S III ($3,498) - low-light king, professional video features
- Panasonic Lumix S5II ($1,997) - great value, excellent video features
Key Professional Features:
- 4K 60fps (minimum)
- 10-bit color depth (for color grading)
- Professional codecs (better editing performance)
- Advanced autofocus (real-time tracking)
- Professional audio inputs (XLR or 3.5mm with monitoring)
Recommendation: Sony A7IV is the current standard for professional creators. Exceptional autofocus, 4K 60fps, 10-bit, and reliable. Canon R6 Mark II for those preferring Canon ecosystem.
Lens Collection ($800-2,000):
Three-Lens Kit:
-
Standard Zoom: 24-70mm f/2.8 ($1,500-2,000)
- Tamron 28-75mm f/2.8 ($879) - great value
- Sony 24-70mm f/2.8 GM II ($2,298) - professional standard
-
Prime for Talking Head: 35mm or 50mm f/1.4-1.8 ($400-1,500)
- Sigma 35mm f/1.4 ($799) - excellent quality/price
- Sony 50mm f/1.2 GM ($1,998) - ultimate quality
-
Wide Angle: 16-35mm f/2.8 or prime ($800-2,000)
- Sony 16-35mm f/4 ($1,398) - good value
- Tamron 17-28mm f/2.8 ($879) - wide and fast
Recommendation: Build slowly. Start with Tamron 28-75mm and Sigma 35mm. Add wide angle later based on content needs.
Professional Audio ($300-800):
Studio Setup:
- XLR Microphone: Shure SM7B ($399) + Cloudlifter ($149) + Audio Interface ($150-300)
- Or all-in-one: Elgato Wave:3 ($149) - simpler, great quality
On-Camera:
- Rode VideoMic NTG ($249) - versatile shotgun
- Sennheiser MKE 600 ($329) - professional standard
Wireless:
- DJI Mic 2 ($349) - upgraded from Phase 1
- Rode Wireless GO II ($299) - reliable alternative
Recommendation: Elgato Wave:3 for simplicity. Shure SM7B setup for ultimate quality (requires audio interface like Focusrite Scarlett 2i2).
Advanced Lighting ($400-1,000):
Three-Point Lighting Kit:
- Key Light: Aputure 120D II ($745) or Amaran 200x ($349)
- Fill Light: Aputure MC RGB ($99) or similar panel
- Back Light: Aputure AL-MC ($79) or accent light
- Light stands and modifiers: $150-300
Advanced Modifiers:
- Softboxes: Aputure Light Dome II ($219) - large, beautiful light
- Diffusion: Silk, grid, or flags for light control
- Color gels for creative lighting
Support and Workflow ($500-1,000):
Tripods and Mounts:
- Heavy-duty tripod: Sachtler Ace ($599) or Benro ($400)
- Overhead rig: For top-down content ($150-400)
- Desk mount: Elgato Master Mount L ($180)
Monitoring:
- External monitor: Atomos Ninja V ($599) or FeelWorld ($200-400)
- Essential for focus, exposure, and framing confidence
Storage and Backup:
- Fast SD cards: 2x 256GB V90 ($200-300)
- External SSD: Samsung T7 2TB ($180) for editing
- Backup drives: 2x 4TB HDD ($200) for archive
Total: $3,500-7,000
What This Enables:
- Broadcast-quality production value
- Complete creative control over every aspect
- Professional reliability for client work or high-stakes content
- Future-proofing for emerging standards (8K, HDR, etc.)
- Credibility for premium sponsorships and partnerships
Production Improvements:
- Full-frame sensor provides ultimate image quality
- 10-bit color enables professional color grading
- Professional codecs improve editing workflow
- XLR audio provides broadcast-standard sound
- Multiple lens options cover any creative need
- Reliable equipment reduces technical failures
When to Upgrade Beyond This:
- When specific content requires specialized gear (cinema cameras, drones, gimbals)
- When team/studio expansion requires multiple setups
- When earning $10,000+/month justifies further investment
- When pursuing broadcast or theatrical distribution
Timeframe: 24+ months
The Equipment Priority Framework
With limited budget, prioritize in this order:
Tier 1: Non-Negotiable ($0-200)
- Good audio (phone + earbuds or entry USB mic)
- Basic lighting (natural light or household lamps positioned well)
- Stable camera position (books, boxes, or $20 tripod)
Tier 2: Quality Foundation ($200-500)
- Dedicated USB microphone
- Basic softbox or LED lighting
- Smartphone tripod and mount
- Quiet, controlled recording environment
Tier 3: Creative Control ($1,000-2,000)
- Interchangeable lens camera
- Prime lens for primary content type
- Professional tripod
- Audio upgrade (shotgun or wireless)
Tier 4: Professional Polish ($3,000-5,000)
- Full-frame camera body
- Multiple professional lenses
- Advanced lighting kit
- Professional audio setup
- Monitoring and support equipment
Tier 5: Specialization ($5,000+)
- Specialized cameras (cinema, action, 360°)
- Advanced stabilization (gimbals, sliders)
- Multiple camera angles/multi-cam
- Professional studio build-out
Common Equipment Mistakes
Mistake 1: Gear Acquisition Syndrome
Buying equipment instead of creating content. The best camera is the one you use. A $5,000 camera collecting dust is worth less than a smartphone that’s recording daily.
Solution: Set content creation quotas before equipment purchases. “I’ll buy the mic after I publish 20 videos with phone audio.”
Mistake 2: The Camera-First Fallacy
Spending budget on camera before audio and lighting. Bad audio kills retention faster than mediocre video. Poor lighting looks unprofessional regardless of camera quality.
Solution: Audio and lighting first, always. Camera is third priority.
Mistake 3: Over-Investing Too Early
Buying Phase 3 equipment in month 2. You’re paying for capabilities you won’t use and can’t yet appreciate. Plus, you don’t know what content you’ll actually create long-term.
Solution: Start with Phase 0 or 1. Upgrade based on actual limitations you encounter, not theoretical future needs.
Mistake 4: Ignoring the Learning Curve
Buying professional equipment without learning to use it properly. Professional cameras have professional complexity. Bad settings on good gear look worse than good settings on basic gear.
Solution: Learn one piece of equipment thoroughly before adding another. Master your current setup before upgrading.
Mistake 5: Neglecting the Environment
Spending thousands on cameras while recording in echoey rooms with distracting backgrounds. Environment matters as much as equipment.
Solution: Invest in your space first: sound treatment ($50-200), background design, lighting control. Then upgrade cameras.
The Maintenance and Growth Plan
Equipment isn’t a one-time purchase - it’s an ongoing relationship:
Maintenance Schedule:
- Monthly: Clean lenses, check cables, organize storage
- Quarterly: Update firmware, review and archive footage, test all equipment
- Annually: Assess upgrade needs, sell unused gear, insure valuable equipment
Growth Planning:
- Set equipment budget as percentage of revenue (5-10% for growing channels)
- Prioritize upgrades based on content evolution
- Sell old gear to fund new purchases
- Keep receipts for tax deductions (equipment is business expense)
Insurance and Protection:
- Renter’s/homeowner’s insurance often covers equipment (verify)
- Specialized equipment insurance for high-value setups
- Hard cases for transport
- Climate-controlled storage for sensitive gear
Checklist: Equipment Decision Framework
Before Buying Anything:
- I’ve published 10+ videos with current setup
- I’ve identified specific limitations holding back quality
- I’ve researched 3+ options at my price point
- I’ve watched/read reviews from content creators (not just tech reviewers)
- I understand what problem this purchase solves
Budget Allocation:
- 40% of equipment budget goes to audio
- 30% goes to lighting
- 20% goes to camera
- 10% goes to accessories and support
Phase 0-1 Assessment:
- I’m recording in a quiet, controlled environment
- I’m using available light effectively
- My phone lens is clean and I’m using rear camera
- I’ve optimized audio as much as possible with current tools
Upgrade Decision:
- I’ve reached consistent publishing schedule (weekly minimum)
- I’ve identified the specific limitation this upgrade addresses
- I’ve budgeted for necessary accessories (not just main item)
- I have time to learn new equipment properly
- The purchase won’t strain finances or delay content creation
Post-Purchase:
- I’ve read the manual or watched setup tutorials
- I’ve tested all features before using in production
- I’ve integrated it into my workflow gradually
- I’ve compared results to previous setup to validate improvement
Conclusion: Equipment Serves Content
The goal isn’t to have the best gear - it’s to remove barriers between your creative vision and your audience. The right equipment enables you to focus on content, not technical limitations.
Start where you are. Use what you have. Create with consistency. Upgrade when your current tools genuinely limit your creative expression or audience growth - not because you want nicer toys.
The creators who win aren’t the ones with the most expensive cameras. They’re the ones who show up consistently with something worth saying, recorded clearly enough that viewers can focus on the message, not the medium.
Your smartphone is enough to start. Your $200 audio/lighting upgrade is enough to grow. Your $2,000 camera kit is enough to go pro. Everything beyond that is optimization, not necessity.
Pick your phase. Make your investment. Then get back to creating. The equipment is just the container - the content is what matters.
Building your creator setup? AutonoLab provides equipment guides, studio setup recommendations, and production workflow tools to help you maximize quality at every budget level. From gear selection to optimization tips, we help you invest wisely in equipment that serves your content.