Lighting Fundamentals: The Three-Point Setup and Beyond
Master professional video lighting techniques with the three-point setup. Learn key, fill, and backlight placement plus advanced lighting strategies for stunning YouTube content.
Executive Summary
Lighting is the single most impactful element that separates amateur YouTube content from professional-quality productions. While expensive cameras and microphones certainly help, proper lighting fundamentals can transform even smartphone footage into cinematic, engaging content that captures and retains viewer attention. This comprehensive guide explores the three-point lighting system - the industry standard used by professionals worldwide - and extends beyond into advanced techniques that will elevate your production value regardless of your budget or experience level.
Mastering lighting isn’t about purchasing the most expensive equipment; it’s about understanding light quality, direction, intensity, and color temperature. Whether you’re filming in a dedicated studio space or improvising in your living room, the principles outlined here will give you the knowledge to create consistent, flattering, and visually compelling content that builds authority and keeps audiences watching longer.
First Principles: Understanding Light
Before diving into specific setups and equipment, let’s establish the foundational principles that govern all lighting decisions. Light behaves according to predictable physical laws, and understanding these fundamentals will enable you to solve any lighting challenge rather than blindly following tutorials.
The Four Characteristics of Light
Every light source, whether natural sunlight or an LED panel, has four defining characteristics: direction, quality, intensity, and color temperature. Direction determines where shadows fall and how features are modeled. Quality refers to whether light is hard (producing sharp shadows) or soft (creating gentle transitions). Intensity controls exposure and mood. Color temperature, measured in Kelvin, ranges from warm orange (2700K candlelight) to cool blue (6500K+ overcast sky).
Understanding these characteristics allows you to manipulate any light source effectively. A bare bulb creates hard, dramatic shadows perfect for storytelling. A large softbox produces flattering, even illumination ideal for beauty and tutorial content. The direction of your key light determines whether your subject appears heroic (from below), mysterious (from the side), or approachable (45-degree angle).
Inverse Square Law and Light Falloff
The inverse square law states that light intensity decreases exponentially with distance. When you double the distance between your light and subject, illumination drops to one-quarter of its original intensity. This principle is crucial for controlling exposure ratios between your subject and background, and for managing multiple lights in small spaces.
Practically, this means placing lights closer to your subject creates more dramatic falloff and separation from the background. Moving lights farther away produces more even illumination across the scene but requires more powerful fixtures. This law also explains why large, close light sources create softer shadows - the light rays arrive from more angles, filling in shadow edges naturally.
Color Rendering and CRI
Color Rendering Index (CRI) measures how accurately a light source reveals the true colors of objects compared to natural daylight. Professional lighting equipment typically boasts CRI ratings of 90+ or even 95+, while cheap LED strips might score below 80, resulting in sickly green or magenta skin tones that destroy production value.
When selecting lights, prioritize high CRI ratings over raw brightness. A dimmer but color-accurate light will produce better results than a bright but inaccurate one. This is especially critical for product reviews, makeup tutorials, and any content where color accuracy matters to your audience’s trust and engagement.
The Three-Point Lighting System
The three-point lighting setup forms the backbone of professional video production. Developed in early Hollywood and refined over decades of broadcasting, this system uses three distinct light sources to create dimension, separate the subject from the background, and ensure your face is always clearly visible and engaging.
The Key Light: Your Primary Illuminator
The key light serves as your main illumination source, typically positioned at a 45-degree angle to your subject and slightly elevated (around 45 degrees above eye level as well). This placement creates natural-looking shadows that model facial features and add dimension to your face, preventing the flat, surveillance-camera appearance of direct frontal lighting.
For YouTube creators, a large softbox or LED panel with diffusion serves as an ideal key light. The size of your key light relative to your subject determines shadow softness - larger sources create gentler, more flattering shadows that smooth skin imperfections and reduce the appearance of wrinkles. A 24x36 inch softbox positioned three feet from your face will produce magazine-quality illumination that makes you look your best.
When setting your key light, start with it at 100% intensity and adjust other lights relative to this baseline. The key light should create a noticeable but not harsh shadow on the opposite side of your face - this is the “short lighting” technique used by portrait photographers to slim faces and add intrigue.
The Fill Light: Controlling Contrast
The fill light’s sole purpose is to reduce the contrast created by your key light. Positioned on the opposite side of the camera from the key light (typically at camera level or slightly below), the fill light should be less intense - usually 25-50% of your key light’s brightness. This ratio, called the lighting ratio, determines the mood of your content.
A 2:1 ratio (fill at half the key’s intensity) creates dramatic, cinematic lighting suitable for storytelling or serious topics. A 4:1 ratio (fill at quarter intensity) produces high-contrast, mysterious shadows. For most YouTube content, a 2:1 to 3:1 ratio strikes the perfect balance - dimensional without being distracting, professional without looking clinical.
You don’t need a second dedicated light for fill. A white reflector board, a white wall, or even a piece of foam core can bounce your key light back onto the shadow side of your face. This technique, called “reflected fill,” often produces more natural results than using a second light source because it maintains the color temperature and quality of your key light.
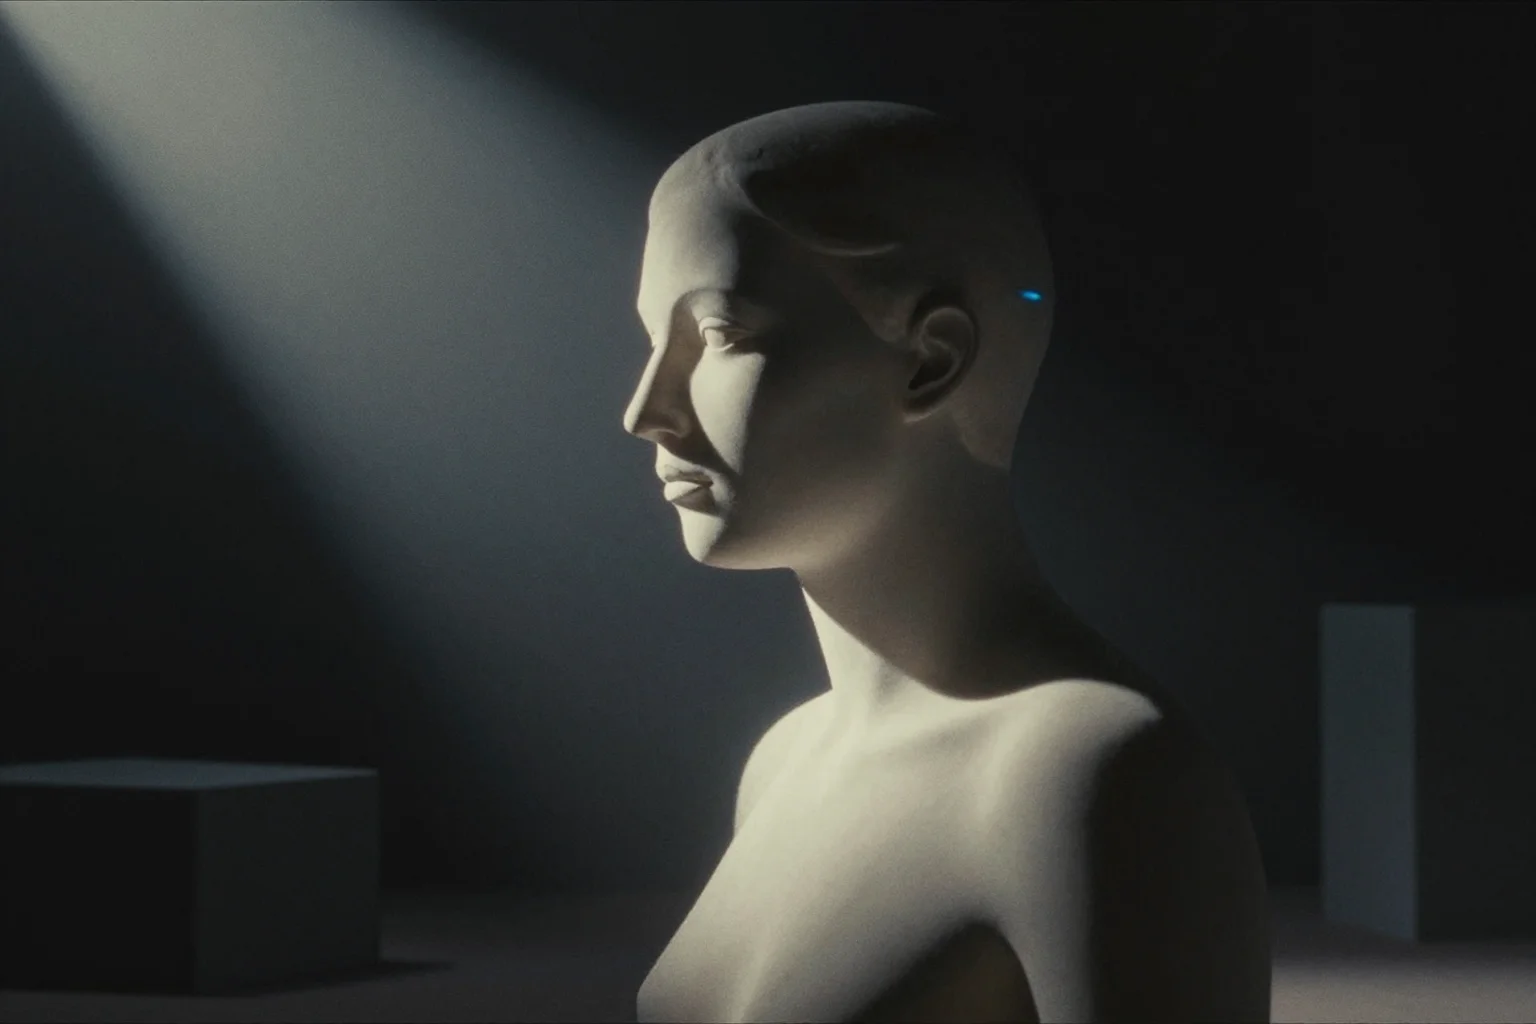
The Backlight (Rim/Hair Light): Creating Separation
The backlight, also called rim light or hair light, positions behind your subject aimed at the back of their head and shoulders. This light creates a bright edge or “rim” around your silhouette, separating you from the background and adding depth to your shots. Without a backlight, subjects often blend into dark backgrounds, creating flat, amateur-looking footage.
Position your backlight directly opposite your key light, elevated high enough to avoid lens flare but low enough to illuminate the shoulders and hair. The backlight should be approximately the same intensity as your key light or slightly brighter. If it’s too dim, you won’t see the separation effect; if it’s too bright, you create a distracting halo or blow out highlights in your hair.
For YouTubers with dark hair filming against dark backgrounds, the backlight becomes absolutely essential. It prevents you from becoming a floating head and helps viewers’ eyes naturally focus on you as the subject. Even with lighter hair or backgrounds, a subtle rim light adds polish and dimension that signals professional production values.
Advanced Lighting Techniques
Once you’ve mastered the three-point system, these advanced techniques will help you develop a signature look, solve specific challenges, and create content that stands out in a crowded platform.
Four-Point and Five-Point Lighting
Adding a fourth light - the background light - allows you to control the environment behind your subject. This might be a simple wash of light to ensure the background is properly exposed, or it might be a colored gel creating mood and atmosphere. Background lights prevent the “black hole” effect where everything behind you disappears into darkness, which can make your frame feel claustrophobic and unprofessional.
A fifth light, often called the kicker or side light, adds extra rim illumination from a different angle than your backlight. This creates complex, multi-dimensional lighting suitable for cinematic content or when you want a particularly dramatic, high-end look. Five-point lighting is common in feature films and high-end commercials but can be overkill for standard talking-head content.
Practical Lighting: Motivated Sources
Practical lighting refers to visible light sources within your frame - lamps, window light, neon signs, or computer monitors. These “motivated” sources explain where light is coming from within your scene’s reality, making lighting feel natural and intentional rather than arbitrary. A visible desk lamp in your background justifies a warm fill light on your face. A window behind you explains a bright backlight.
When using practicals, ensure they serve a compositional purpose and don’t create unflattering spill light on your face. A practical lamp might need to be dimmed or positioned carefully to avoid creating competing shadows or color temperature conflicts. The goal is for viewers to unconsciously accept your lighting as realistic while you maintain complete control over the actual illumination.
Low-Key and High-Key Lighting Styles
High-key lighting, characterized by bright, even illumination with minimal shadows, creates an optimistic, approachable mood perfect for tutorials, vlogs, and educational content. This style requires substantial fill light and often multiple background lights to eliminate shadows entirely. High-key setups feel clean, modern, and professional - the default choice for most YouTube creators.
Low-key lighting embraces shadows and contrast to create drama, mystery, or intensity. Horror movie reviews, true crime content, or serious philosophical discussions benefit from low-key setups where much of the frame remains in shadow. A single key light with minimal or no fill creates this look, but requires careful positioning to ensure your face remains visible and engaging rather than disappearing into darkness.
Color Temperature Mixing for Style
While standard advice recommends matching all lights to the same color temperature (typically 5600K daylight for modern LED setups), intentional color mixing creates mood and visual interest. Warm practical lights (3200K) contrasted against cool key lighting (5600K) create depth and dimension. Blue rim lights against warm key lights produce the “orange and teal” look popular in Hollywood films.
When mixing color temperatures, ensure the contrast serves a creative purpose. Random mismatches look like mistakes; intentional choices look like style. Start with all lights matched, then selectively add colored gels or warm/cool sources to accent specific areas of your frame.
Equipment Essentials: From Budget to Professional
Understanding what gear you actually need prevents expensive mistakes and ensures you invest wisely in equipment that will serve your content goals.
Entry-Level Solutions ($50-200)
For creators just starting out, natural window light provides professional-quality illumination at zero cost. Position yourself perpendicular to a large north-facing window (in the Northern Hemisphere) for consistent, soft light throughout the day. A white bed sheet taped over the window acts as diffusion, softening harsh sunlight into studio-quality illumination.
If natural light isn’t available or consistent, a single large LED panel with diffusion provides an excellent starting point. Look for bi-color LEDs (3200K-5600K adjustable) with 90+ CRI ratings. A 19-inch panel with a simple white diffusion umbrella costs under $100 and produces results indistinguishable from setups costing ten times as much when used correctly.
Mid-Range Upgrades ($200-800)
As your channel grows, a dedicated two-light kit with softboxes provides the foundation for three-point lighting. Two identical LED panels with 24x36 softboxes allow you to position one as key and one as fill, while using natural light or a reflector for backlight. This setup handles 90% of YouTube content creation scenarios.
Add a third compact light specifically for backlight duty - a small LED panel with a barndoor attachment to control spill. Look for lights with remote control capabilities or DMX compatibility, allowing you to adjust intensity without leaving your mark or interrupting recording flow.
Professional Setups ($800+)
Professional YouTube studios invest in RGB lights (capable of producing any color), powerful COB (chip-on-board) LEDs with Fresnel attachments for precise beam control, and lighting consoles for preset recall. Aputure, Godox, and Nanlite dominate this space, offering color-accurate, durable fixtures with professional features like effects engines, wireless control, and high output.
Professional setups also include grip equipment - C-stands, boom arms, sandbags, and flags - that allow precise positioning and light control. These tools enable techniques impossible with basic kits, like precise negative fill (using black flags to subtract light and increase contrast) or complex multi-light setups for different content types.
Solving Common Lighting Problems
Every creator encounters lighting challenges. Here are solutions to the most common problems that destroy production quality.
Dealing with Mixed Lighting
Offices, bedrooms, and living rooms often contain multiple light sources with conflicting color temperatures - warm incandescent bulbs, cool LED strips, and daylight from windows. This creates color casts that make skin look unnatural and unprofessional.
Solutions include: replacing all bulbs with matched color temperature LEDs, blocking natural light entirely and relying on controlled artificial sources, or using color-correction gels to match your key light to the dominant ambient source. For unavoidable mixed lighting, set your camera’s white balance to the color temperature of your key light and accept that background elements will have slight color casts.
Managing Glasses Glare
Eyeglasses create reflections of your lights that obscure your eyes and create distracting hot spots. Solutions include: raising your lights higher (reflections move with light position), positioning lights more to the side, using larger soft sources (reflections spread across the lens rather than concentrating), or removing lens coatings temporarily (though this affects vision).
If you must wear glasses on camera, test different positions while looking at a monitor to find angles that minimize reflections while maintaining flattering illumination. Sometimes, tilting glasses slightly down eliminates reflections without affecting appearance.
Controlling Shadows on Green Screens
Green screen work requires extremely even lighting to prevent shadows that cause poor keying results. Position lights at 45-degree angles to the screen (not pointing directly at it) to minimize reflections and hotspots. Light your subject separately from the screen using the three-point method, ensuring your subject stands at least six feet from the backdrop to prevent green spill (green light reflecting onto their edges) and shadows.
Use a dedicated background light or two to ensure the green screen is evenly illuminated to within half a stop across the entire area. This consistency allows software to cleanly separate your subject from the background.
The AutonoLab Advantage
Creating professional lighting setups requires more than just equipment - it demands understanding your unique recording environment, content goals, and audience expectations. AutonoLab’s AI-powered content optimization platform analyzes your current lighting setup through video analysis and provides personalized recommendations for improvement.
The platform’s intelligent assessment tools evaluate color temperature consistency, exposure levels, and shadow placement across your existing content, identifying specific issues that might be costing you viewer retention. Whether you’re struggling with green screen keying, dealing with mixed lighting in a home office, or trying to achieve a specific cinematic look, AutonoLab’s guidance helps you make informed equipment decisions and optimize your current setup without expensive trial and error.
Beyond technical analysis, AutonoLab assists with the strategic aspects of lighting design - helping you choose styles that align with your brand identity, advising on setups that streamline your workflow for high-volume content production, and ensuring your visual presentation builds authority and trust with your target audience. The platform transforms lighting from a technical hurdle into a competitive advantage.
Implementation Checklist
Pre-Production Planning:
- Map your recording space and identify available natural light sources
- Determine your content style requirements (high-key vs. low-key, color temperature preferences)
- Inventory existing light sources and color temperatures
- Plan three-point lighting positions based on space constraints
- Budget for essential equipment (key light priority, then fill, then backlight)
Setup Verification:
- Position key light at 45-degree angle, elevated above eye level
- Set fill light intensity to 25-50% of key light (or use reflector)
- Place backlight behind subject, opposite key light direction
- Check for glasses glare and adjust light height/position
- Verify all lights match color temperature (or intentionally mix for effect)
- Test exposure on camera with zebra patterns or histogram
- Record test footage and review shadows, skin tones, background separation
Advanced Optimization:
- Add background light if environment disappears into darkness
- Incorporate practical lights for motivated sources
- Experiment with lighting ratios for different moods
- Test colored gels or RGB lights for creative effects
- Establish lighting presets for different content types
- Document positions and settings for consistency across sessions
Conclusion
Lighting mastery transforms YouTube content from amateur to authoritative. The three-point system provides a reliable foundation that works across all content types and production levels, while advanced techniques allow you to develop a signature visual style that distinguishes your channel. Remember that expensive equipment is secondary to understanding - many creators achieve stunning results with minimal gear by applying the principles outlined here.
Start with what you have, master the fundamentals, and upgrade strategically based on your specific content needs. Whether you’re filming with natural window light and a reflector or commanding a full RGB LED array, the goal remains consistent: create flattering, dimensional, engaging illumination that keeps viewers focused on your message and trusting your expertise.
Professional lighting isn’t a destination but an ongoing refinement process. As your channel grows, your understanding of light will deepen, your equipment will evolve, and your visual signature will emerge. The investment in lighting knowledge pays dividends in viewer retention, brand perception, and the pure satisfaction of creating content that looks as good as the ideas you’re sharing.