Multi-Camera Setups: Advanced Production Techniques
Master multi-camera YouTube production with advanced filming techniques. Learn camera matching, sync methods, and professional workflows that elevate your content quality.
Executive Summary
Multi-camera production represents the evolution from solo creator to professional operation, enabling dynamic visual storytelling that single-camera workflows cannot achieve. Whether you’re filming interviews, live streaming, or creating content that demands visual variety, multi-camera setups provide the coverage, flexibility, and production value that signal professional authority. This comprehensive guide reveals the technical and creative strategies for implementing multi-camera workflows, from simple two-camera interviews to complex multi-angle productions that rival broadcast quality.
The investment in multi-camera equipment and workflow complexity pays dividends in content quality, editing efficiency, and creative possibilities. While single-camera work remains viable for many YouTube formats, understanding multi-camera principles - even if implementing them gradually - expands your production capabilities and prepares you for the scaled operations that accompany channel growth. This guide provides both the theoretical foundation and practical implementation steps for creators ready to elevate their production sophistication.
First Principles: Why Multi-Camera Matters
Multi-camera production isn’t merely about having more cameras - it’s about fundamentally different storytelling capabilities and operational efficiencies that transform production possibilities.
The Coverage and Flexibility Advantage
Single-camera production requires stopping, repositioning, and resetting for every angle change. This interruption destroys conversational flow, depletes performer energy, and limits editing options to what you remembered to capture during multiple setups. Multi-camera simultaneously captures multiple angles, providing:
- Continuous coverage: No stopping for repositioning means natural conversation flow
- Editing flexibility: Multiple angles provide options for hiding cuts, adding visual interest, and creating pace
- Performance preservation: Energy and momentum remain high without repeated resets
- Safety coverage: If one camera has technical issues, others provide backup
- Time efficiency: Single setup serves multiple editorial purposes
For interview content, conversations between you and a guest, or any dialogue-heavy format, multi-camera is transformative. The ability to cut between speakers, show reactions, and vary framing without interrupting the conversation produces professional results impossible with single-camera approaches.
The Psychological and Creative Benefits
Multi-camera setups affect performance psychology. Knowing that multiple angles capture the action reduces pressure on any single performance - if one angle shows a stumble, another might capture a clean take. This safety net paradoxically enables more natural, confident performance.
Creatively, multi-camera enables visual storytelling that mirrors professional film and television. Cutaways to reaction shots, insert shots of hands or objects, wide shots establishing spatial relationships - these techniques create sophisticated viewing experiences that signal high production values and engage audiences more deeply than static single-angle coverage.
The Efficiency Multiplication Effect
While multi-camera requires more equipment and setup complexity, it dramatically reduces per-video production time. A two-camera interview captures in real-time what would require multiple repositioning sessions with single-camera. This efficiency compounds across content volume - creators producing weekly content save hours of production time monthly through multi-camera workflows.
The efficiency extends to editing. With synchronized multi-camera footage, editors switch between angles in real-time during playback, selecting best moments from each camera simultaneously. Modern software automates much of this process, making multi-camera editing faster than cutting together multiple single-camera files.
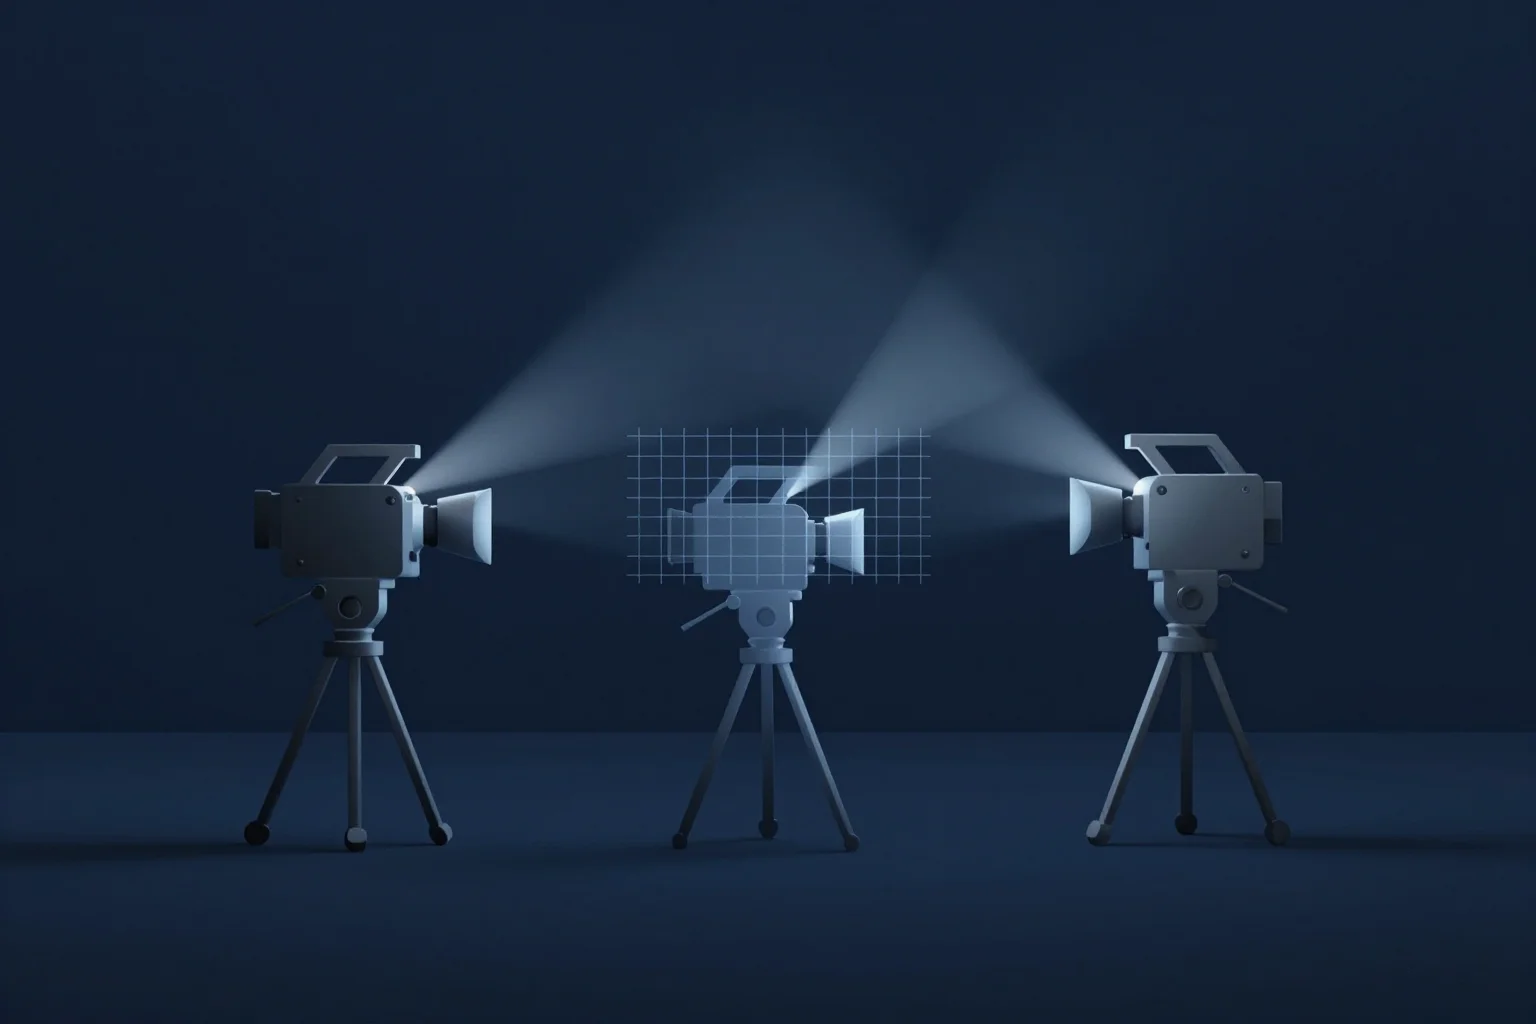
Multi-Camera Configuration Options
Different content types require different camera arrangements. These standard configurations provide starting points adaptable to your specific needs.
The Two-Camera Interview Setup
The foundational multi-camera configuration for dialogue content:
Camera A (Primary): Positioned at 45-degree angle to subject, medium close-up framing (chest up). This is your “safety” camera that always captures usable footage regardless of what happens with other angles. Record audio primarily to this camera or dedicated audio recorder.
Camera B (Secondary): Positioned opposite Camera A, capturing the other subject or providing alternate framing of the same subject. For single-person talking-head content, Camera B provides a different angle (profile, wider shot, or detail close-up) for visual variety.
Positioning Guidelines:
- Maintain similar distances to maintain consistent perspective and focus depth
- Avoid positioning cameras directly opposite each other (180-degree line) which creates continuity confusion
- Use different focal lengths for visual variety (50mm on A, 85mm on B, for example)
- Position B camera slightly wider or tighter than A for clear visual distinction
Audio Strategy: Record primary audio to dedicated recorder or Camera A. Use Camera B’s audio as sync reference (will be discarded in edit). Clap loudly at beginning of recording to create clear sync point visible on all camera audio waveforms.
The Three-Camera Production Setup
Three cameras provide comprehensive coverage for complex productions:
Camera A (Wide/Master): Wide shot capturing entire scene, both subjects, and environment. Serves as establishing shot and cutaway option. Positioned to avoid crossing the 180-degree line with other cameras.
Camera B (Subject 1): Medium shot of primary subject. Your primary A-roll for that person’s dialogue.
Camera C (Subject 2): Medium shot of secondary subject. Your primary A-roll for that person’s dialogue.
This configuration enables continuous two-person conversation coverage where you can cut between speakers without jump cuts or awkward framing compromises. Wide shots provide transitions and context; medium shots deliver primary content.
Specialized Multi-Camera Configurations
The Demonstration Setup (for tutorial/review content):
- Camera A: Medium shot of host
- Camera B: Overhead angle showing hands/work surface
- Camera C (optional): Detail close-up of specific actions or product features
The Vlog/Movement Setup (for dynamic content):
- Camera A: Gimbal-mounted following camera for primary action
- Camera B: Fixed wide establishing shots
- Camera C: Handheld detail camera for inserts and cutaways
The Live Streaming Setup (for real-time broadcast):
- Camera A: Primary wide shot of host/primary action
- Camera B: Secondary angle for guest or different perspective
- Camera C: Dedicated screen capture or graphics input
- Switcher (hardware or software) for real-time angle switching
Technical Implementation: Camera Matching
The biggest challenge in multi-camera production is making footage from different cameras look consistent - matching exposure, color, and perspective so cuts between cameras don’t jar the viewer.
Camera Selection Strategy
Identical Cameras (Ideal): Using the same camera model for all angles ensures sensor, color science, and processing consistency. The gold standard but often cost-prohibitive.
Same Manufacturer (Good): Cameras from the same manufacturer (all Sony, all Canon) share similar color science that grades together more easily than mixed manufacturers.
Picture Profile Matching (Essential): When using different cameras, configure identical picture profiles:
- Same profile type (all Log, all Standard, all Flat)
- Same white balance settings (manual Kelvin, not auto)
- Same color temperature (5600K daylight standard unless specific creative choice)
- Same frame rate and shutter speed
- Similar ISO ranges to match noise characteristics
Test extensively before important productions. Record test clips from all cameras under your actual lighting conditions, load into editing software, and verify that color matching doesn’t require heroic correction efforts.
Exposure and White Balance Matching
Even identical cameras require careful matching:
- Use waveform monitors or false color to match exposure levels between cameras
- Set white balance using same reference card under identical lighting
- Lock all settings manually - auto exposure or white balance on any camera creates inconsistency
- Match aperture settings when possible for consistent depth of field
The “match cut” - seamless transition between cameras - requires near-identical exposure, color, and framing. Invest time in pre-production matching to save extensive post-production correction.
Lens and Framing Consistency
Different focal lengths create different perspective distortions. Cutting between a wide-angle shot (24mm) and telephoto shot (85mm) of the same subject creates jarring size relationships and spatial confusion.
Focal Length Guidelines:
- Maintain similar focal lengths across cameras (all within 35-85mm range)
- If using different focal lengths, vary by at least 50% for clear visual distinction (35mm and 85mm work together; 50mm and 55mm create confusion)
- Match camera heights - drastically different angles look like different locations
- Consistent distance to subject maintains focus depth parity
Synchronization Strategies
Perfect synchronization is essential for multi-camera editing. These methods ensure all cameras maintain frame-accurate alignment.
Timecode Synchronization (Professional)
Professional cameras and audio recorders generate timecode - precise time stamps recorded with each frame. Matching timecode across devices enables automatic sync in editing software.
Implementation:
- Use cameras with timecode capabilities (Canon C-series, Sony FX-series, professional camcorders)
- Jam sync all devices to a master timecode generator
- Or use wireless timecode systems (Tentacle Sync, Ambient MasterLockit)
- Import footage - software automatically aligns by matching timecode stamps
This method provides frame-accurate sync without manual alignment but requires equipment supporting timecode (unavailable on most mirrorless cameras and DSLRs).
Audio Waveform Synchronization (Standard)
Modern editing software (Premiere, Final Cut, DaVinci Resolve) automatically syncs clips by matching audio waveforms:
- Record audio to all cameras (even if you’ll only use one audio source)
- Software analyzes waveforms and aligns clips at matching points
- Clap loudly at recording start to create obvious spike for sync reference
Requirements for success:
- All cameras must record audio (even if just camera mic reference)
- Audio must be distinct enough for software to match (clap helps immensely)
- Clips must overlap in time (can’t sync footage from completely different times)
This method works with any camera that records audio, making it accessible to all creators regardless of equipment budget.
Manual Synchronization (Universal)
When automatic sync fails, manual alignment provides fallback:
- Identify clear sync point (clap, hand gesture, specific word)
- Line up that moment across all camera angles in timeline
- Zoom to single-frame view to verify alignment
- Use audio waveforms for fine-tuning
Manual sync is tedious for long clips but reliable and works with any footage. For important productions, clap clearly at start and throughout long recordings to create multiple sync reference points.
Multi-Camera Editing Workflows
Modern editing software provides sophisticated multi-camera workflows that transform footage management.
Premiere Pro Multi-Camera Workflow
Setup:
- Import all footage and audio
- Create Multi-Camera Source Sequence (right-click clips)
- Select synchronization method (timecode, audio, or manual)
- Nest synchronized clips into single multi-cam clip
Editing:
- Load multi-cam clip into timeline
- Enable Multi-Camera Monitor (Window > Multi-Camera Monitor)
- Play timeline and press 1, 2, 3, 4 to cut between camera angles in real-time
- Fine-tune cuts in timeline after initial pass
This real-time cutting approach dramatically speeds up multi-camera editing compared to manually cutting between separate clips.
Final Cut Pro Multicam Workflow
Setup:
- Import footage and create New Multicam Clip
- Select synchronization method and angle names
- Final Cut automatically creates synchronized multicam clip
Editing:
- Add multicam clip to timeline
- Open Angle Viewer (View > Show in Viewer > Angles)
- Play and click angles to cut, or use 1-4 keyboard shortcuts
- Blade tool provides manual cut point adjustment
Final Cut’s magnetic timeline simplifies multicam editing, automatically closing gaps and maintaining sync through adjustments.
DaVinci Resolve Multicam Workflow
Setup:
- Import footage to Media Pool
- Select clips and right-click > Create New Multicam Clip Using Selected Clips
- Choose sync method in dialog
- Resolve creates multicam clip in timeline
Editing:
- Enable Multicam View (Timeline Viewer menu)
- Play and click angles to cut between cameras
- Use Trim Edit Mode for fine-tuning cut points
- Color page provides unified color correction across all angles
DaVinci’s integrated color workflow is particularly valuable for matching different cameras in post.
Advanced Multi-Camera Techniques
Once you’ve mastered fundamentals, these techniques add professional polish and creative possibilities.
The J-Cut and L-Cut in Multi-Camera
Audio bridges create seamless transitions in multi-camera editing:
- J-Cut: Audio from upcoming clip starts before video cuts (resembles J shape)
- L-Cut: Audio from current clip continues over next clip’s video (resembles L shape)
In multi-camera interviews, use J-cuts to bring in guest reactions before cutting to them visually. Use L-cuts to maintain conversational flow while changing visual angle. These techniques transform mechanical cuts into fluid, professional transitions.
Cutaway Strategy and Reaction Shots
Multi-camera enables sophisticated cutaway strategies impossible with single-camera:
- Active speaker rule: Generally keep camera on person speaking
- Reaction priority: Cut to listener during emotional moments, key points, or humor
- B-roll integration: Use third camera for insert shots (hands, objects, environment) during dialogue
- Pacing variation: Use wide shots to slow pace, close-ups to intensify moments
The rhythm of cutting - when to switch angles, how long to hold each shot - creates the pacing that determines viewer engagement. Experiment with different cutting patterns to find what serves your content best.
Live Switching vs. Post-Production
Live Switching (real-time): Use hardware switchers (ATEM Mini, Roland) or software (OBS, vMix) to cut between cameras during recording/streaming. Provides immediate final output but requires real-time decision-making with no take-backs.
Post-Production Switching: Record all cameras continuously, select best angles in editing. More time-consuming but provides flexibility to change decisions and fix mistakes.
Most YouTube creators use post-production switching for recorded content, reserving live switching for streaming where real-time output is required. Some productions use hybrid approaches - live switch for basic coverage, supplement with additional angles in post.
Motion and Dynamic Multi-Camera
Static multi-camera setups can feel stale. Adding movement elevates production value:
- One moving camera: Keep two cameras static for safety, add one gimbal-mounted camera for dynamic movement
- Programmable motion: Motorized sliders or pan-tilt heads create repeatable camera movements
- Operator-driven movement: Skilled camera operators add subtle movement (slow pushes, gentle pans) that adds life without distraction
Movement must serve content, not distract from it. Subtle, slow movement feels professional; rapid, shaky movement feels amateur.
Equipment Considerations and Budget Tiers
Multi-camera production requires equipment investment that scales with ambition and content volume.
Entry-Level Multi-Camera ($500-1500)
Configuration: Two identical smartphones or one smartphone + one entry-level camera
- Use Filmic Pro or similar app for manual control and sync
- Simple tripod or clamp mounts
- Audio recorded to primary device or external recorder
- Basic lighting that serves both angles
Limitations: Color matching between different devices can be challenging; limited focal length options; smartphone cameras have fixed lenses requiring physical repositioning for framing changes.
Best for: Interview content, simple talking-head variety, creators testing multi-camera workflows before major investment.
Mid-Range Multi-Camera ($1500-5000)
Configuration: Two identical mirrorless cameras (Sony A6xxx series, Canon M50, etc.)
- Matching cameras with interchangeable lenses
- Dedicated audio recorder (Zoom H4n, Tascam DR-40)
- Quality tripods with fluid heads for smooth movement
- LED lighting kit serving both angles
Advantages: Consistent color science, lens flexibility, professional image quality, reliable audio synchronization
Best for: Serious creators committed to regular multi-camera production, interview shows, tutorial content requiring variety
Professional Multi-Camera ($5000+)
Configuration: Three+ cinema cameras or broadcast camcorders
- Cameras with timecode capabilities
- Professional switcher hardware or software
- Dedicated camera operators for dynamic angles
- Professional lighting grid serving multiple positions
- Multichannel audio mixer and dedicated sound operator
Advantages: Broadcast-quality output, real-time switching capability, specialized features (slow-motion, 4K/8K, professional codecs)
Best for: Established channels with production teams, live streaming operations, commercial productions
Common Multi-Camera Mistakes
Avoid these pitfalls that undermine multi-camera investments.
The Matching Disaster
Cutting between cameras with radically different exposure, color, or framing creates jarring, amateurish results. Always verify matching before recording:
- Record test clips from all cameras
- Load into editing software
- Apply consistent color correction
- Verify that cuts look natural
If cameras won’t match, use them for clearly different purposes (wide vs. close-up) rather than attempting seamless cuts between mismatched medium shots.
Audio Neglect
Multi-camera setups create audio complexity. Common problems:
- Phase issues: Multiple microphones capturing same source create comb filtering
- Mixing neglect: Forgetting which audio source to use for final mix
- Sync failure: Not recording audio on all cameras for sync reference
- Quality inconsistency: Using camera A’s high-quality audio on camera B’s footage
Develop clear audio workflow: primary audio source recorded to dedicated recorder, sync reference on all cameras, consistent mixing strategy documented before production.
Over-Cutting
Having multiple angles tempts editors to cut constantly. Restrained cutting feels professional; hyperactive cutting feels like掩盖 poor content or editing inexperience.
Cutting discipline:
- Hold shots long enough to register (minimum 3-5 seconds usually)
- Cut for purpose, not just because you can
- Follow conversational flow rather than forcing artificial variety
- Let moments breathe - constant cutting exhausts viewers
Operator Inexperience
Moving cameras require skilled operators. Jerky movements, missed focus, and poor framing destroy production value faster than static single-camera footage.
If using camera operators:
- Provide clear direction and shot lists
- Rehearse movements before recording
- Use motion controls for repeatable, smooth movement
- Consider static multi-camera over badly operated moving cameras
The AutonoLab Advantage
Implementing multi-camera workflows requires balancing technical complexity with creative goals - a challenge that overwhelms many creators transitioning from single-camera production. AutonoLab’s intelligent production optimization platform analyzes your current content and workflow patterns to determine whether multi-camera investment will genuinely improve your specific content type and audience engagement.
The platform provides personalized multi-camera configuration recommendations based on your space constraints, budget, content format, and technical expertise. Rather than generic advice, you receive specific guidance on optimal camera positioning, equipment selection, and workflow design tailored to your unique situation. AutonoLab identifies which of your current content would benefit most from multi-camera treatment and which formats are better served by single-camera efficiency.
Beyond planning, AutonoLab assists with the complex technical challenges of multi-camera production - providing camera matching protocols, synchronization troubleshooting guides, and editing workflow optimization that reduces the learning curve for creators new to multi-angle production. The platform’s analysis capabilities extend to post-production, helping you understand cutting patterns that maximize engagement and identifying when multi-camera variety enhances versus distracts from content delivery.
For creators managing multi-camera growth, AutonoLab tracks production efficiency metrics, helping you understand whether multi-camera investments are delivering the time savings and quality improvements that justify equipment and complexity costs. The platform transforms multi-camera production from overwhelming technical challenge into strategic competitive advantage.
Implementation Checklist
Pre-Production Planning:
- Determine optimal camera configuration for your content type (2-camera interview, 3-camera production, etc.)
- Verify all cameras match in picture profile, white balance, and frame rate
- Test color matching under actual lighting conditions before important productions
- Plan camera positioning avoiding 180-degree line confusion
- Develop clear audio strategy (primary source, sync references, mixing approach)
- Create shot list specifying which camera captures what content
Technical Setup:
- Position cameras maintaining consistent distance and height
- Match exposure using waveform monitors or false color
- Lock all settings to manual (exposure, white balance, focus)
- Record clear clap or sync sound at beginning of recording
- Verify audio recording on all cameras for sync reference
- Test sync in editing software with test clips before full production
Recording Execution:
- Monitor all camera feeds simultaneously if possible (multi-view monitor)
- Call out slate information for organizational clarity
- Verify recording status on all cameras periodically
- Create additional sync points during long recordings (claps every 10-15 minutes)
- Maintain notes on which takes had issues with which cameras
Post-Production Workflow:
- Import all footage and audio to editing software
- Create multi-camera clips using automatic sync (audio waveform or timecode)
- Verify sync accuracy by checking alignment at multiple points
- Use multi-camera editing tools for real-time angle cutting
- Apply consistent color correction across all angles
- Fine-tune cut points and add J-cuts/L-cuts for smooth transitions
Conclusion
Multi-camera production represents the evolution from basic content creation to professional video production. While the technical complexity and equipment investment exceed single-camera workflows, the creative possibilities, editing efficiencies, and production value improvements justify the learning curve for serious creators committed to YouTube success.
Master the fundamentals first: camera matching, synchronization, and basic multi-camera editing workflows. These foundations serve regardless of how many cameras you eventually deploy. Start with two-camera setups that double your editorial options while keeping complexity manageable. Expand to three or more cameras as your content demands and expertise grows.
Remember that multi-camera is a tool serving your content, not an end in itself. The goal isn’t maximizing camera count but maximizing storytelling capability. Sometimes two well-placed cameras serve your narrative better than four chaotic angles. Quality of coverage always trumps quantity of cameras.
The creators who master multi-camera workflows gain significant competitive advantages: production efficiency that enables higher content volume, visual sophistication that signals professional authority, and creative flexibility that engages audiences more deeply than static single-angle presentations. These advantages compound over time, accelerating channel growth and establishing the production values that separate amateur experiments from professional operations.
Invest in understanding multi-camera principles even if you’re not ready to implement them fully. The knowledge prepares you for scaled production, informs your equipment purchasing decisions, and provides the framework for efficient expansion when your channel growth demands it. Multi-camera mastery transforms content creation from constrained single-angle work into dynamic visual storytelling - and that’s worth the investment of time, equipment, and learning required to achieve it.